DIY Homemade Stain Remover
NOTE: If color remains, launder using sodium hypochlorite bleach, if safe for fabric. Otherwise, pretreat or soak in a product containing enzymes or an oxygen bleach using hottest water safe for fabric, then launder.
Stain Removal Guide
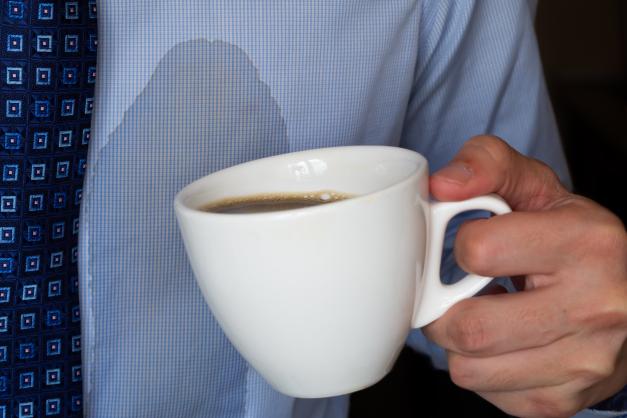
Life’s messy. Have a stain you’re not sure how to get out?
How to remove stains from clothes:
- Deal with it as early as possible. The less time a stain has to soak in, the easier it will be to remove, although there are ways to remove old stains out of clothes as well.
- Pre-treat with a stain remover, then let it soak in.
- Launder according to the fabric care instructions. Regular stains should come out in cold water but for extra dirty clothing or very tough stains, use the warmest setting safe for the fabric. If the stain remains, repeat the steps above. Do not put it in the dryer until the stain is removed.
Choose a stain substance below for more specific advice on how to get stains out of clothes:
Adhesives
- Apply ice or cold water to harden surface; scrape with a dull knife.
- Saturate with prewash stain remover or cleaning fluid.
- Rinse, then launder.
Baby Formula
- Pretreat or soak stains using a product containing enzymes.
- Soak for at least 30 minutes or several hours for aged stains
- Launder.
Barbeque Sauce
- Working from the back of the stain, flush it with cold water.
- Pretreat it with a liquid laundry detergent, using an up-and-down motion with a soft brush to break up the stain.
- Rinse well.
- Sponge with white vinegar and rinse again.
- Repeat, treating the stain with liquid detergent, then with white vinegar until you’ve removed as much stain as possible.
- Pretreat with a prewash stain remover and launder with bleach that’s safe for the fabric.
Beverages
- Sponge or soak stain in cool water.
- Pretreat with prewash stain remover, liquid laundry detergent, liquid detergent booster or paste of powder laundry product and water.
- Launder using sodium hypochlorite bleach, if safe for fabric, or oxygen bleach.
NOTE: Older stains may respond to pretreating or soaking in a product containing enzymes, then laundering.
Blood
Fresh Stains:
- Soak in cold water (do not use hot water as it will set blood stains).
- Launder.
Dried Stains:
- Pretreat or soak in warm water with a product containing enzymes.
- Launder.
NOTE: If stain remains, rewash using a bleach safe for fabric.
Bodily Fluids
- Pretreat or soak in a product containing enzymes.
- Launder using sodium hypochlorite bleach, if safe for fabric, or oxygen bleach.
Brown / Yellow Discoloration
- Use a rust remover recommended for fabrics.
- Launder.
NOTE: Do not use a sodium hypochlorite bleach to remove rust stains because it may intensify discoloration
Do you have more cleaning questions? We’ve got answers!
Butter
- Pretreat with a prewash stain remover
- Launder, using the hottest water that’s safe for the fabric.
Candle Wax
- Scrape off surface wax with a dull knife.
- Place stain between clean paper towels and press with a warm iron. Replace paper towels frequently to absorb more wax and to avoid transferring stains.
- Place stain facedown on clean paper towels. Sponge remaining stain with prewash stain remover or cleaning fluid; blot with paper towels. Let dry.
- Launder.
NOTE: If any color remains, rewash using sodium hypochlorite bleach, if safe for fabric, or oxygen bleach.
Chocolate
- When the stain strikes, gently scrape off any excess chocolate.
- Once you get the item home, soak it in cool water.
- Then pretreat with a prewash stain remover
- Launder in the hottest water that’s safe for the fabric.
Watch our video for more information on chocolate stains.
NOTE: If stain remains, rewash using a bleach safe for fabric.
Collar / Cuff Soil
- Pretreat with prewash stain remover, liquid laundry detergent or paste of powder detergent and water.
- Launder.
Coffee / Tea
- Sponge or soak stain in cool water.
- Pretreat with prewash stain remover, liquid laundry detergent, liquid detergent booster or paste of powder laundry product and water.
- Launder using sodium hypochlorite bleach, if safe for fabric, or oxygen bleach. (Note: Older stains may respond to pretreating or soaking in a product containing enzymes, then laundering.)
Cosmetics / Lipstick
- Pretreat with prewash stain remover, liquid laundry detergent, paste of powder detergent or laundry additive and water. Or, rub with bar soap.
- Launder.
Crayon
For a Few Spots:
- Treat the same as candle wax or dampen the stain and rub with bar soap,
- Launder using hottest water safe for fabric.
For a Whole Load of Clothes:
- Wash with hot water using a laundry soap and 1 cup (212 g) baking soda.
NOTE: If color remains, launder using sodium hypochlorite bleach, if safe for fabric. Otherwise, pretreat or soak in a product containing enzymes or an oxygen bleach using hottest water safe for fabric, then launder.
Dairy Products
- Pretreat or soak stains using a product containing enzymes.
- Soak for at least 30 minutes or several hours for aged stains.
- Launder.
Deodorants
Light Stains:
- Pretreat with liquid laundry detergent. Launder.
Heavy Stains:
- Pretreat with prewash stain remover. Allow to stand for 5 to 10 minutes.
- Launder using an oxygen bleach.
Dye Transfer
- Attempt restoration of white fabrics that have picked up color from other fabrics by using a packaged color remover, following label directions.
- Launder.
NOTE: If dye remains, launder again using sodium hypochlorite bleach, if safe for fabric. For non-colorfast fabrics, soak in oxygen bleach, then launder.
NOTE: This type of stain may be prevented if proper sorting and laundering procedures are followed.
Egg
- Pretreat or soak stains using a product containing enzymes.
- Soak for at least 30 minutes or several hours for aged stains.
- Launder.
Fabric Softener
- Dampen the stain and rub with bar soap.
- Rinse out, then launder.
Fruit and Juices
- Pretreat or soak stains using a product containing enzymes.
- Soak for at least 30 minutes or several hours for aged stains.
- Launder.
- If that doesn’t remove the stain, use a bleach safe for the fabric.
Grass
- Pretreat or soak in a product containing enzymes.
NOTE: If stain persists, launder using sodium hypochlorite bleach, if safe for fabric, or oxygen bleach.
Grease and Oil
Light Stains:
- Pretreat with prewash stain remover, liquid laundry detergent or liquid detergent booster.
- Launder using hottest water safe for fabric.
Heavy Stains:
- Place stain facedown on clean paper towels. Apply cleaning fluid to back of stain.
- Replace paper towels under stain frequently.
- Let dry, rinse. Launder using hottest water safe for fabric.
Ice Cream
- Pretreat or soak stains using a product containing enzymes.
- Soak for at least 30 minutes – longer if the stains are old.
- Launder, using the warmest water that’s safe for the fabric.
Ink
- Sponge the area around the stain with rubbing alcohol or cleaning fluid before applying it directly on the stain.
- Place stain facedown on clean paper towels. Apply alcohol or cleaning fluid to back of stain. Replace paper towels frequently.
- Rinse thoroughly. Launder.
Alternate Method:
- Place stain over mouth of a jar or glass; hold fabric taut.
- Drip the alcohol or cleaning fluid through the stain so ink will drop into the container as it is being removed.
- Rinse thoroughly. Launder.
NOTE: Some inks in each of the following categories _ ballpoint, felt tip, liquid- may be impossible to remove.
Want to know what those symbols mean on the tags of our clothing? Do you really need to sort your laundry? How often should you wash jeans? Find out!
Ketchup
- Remove any excess ketchup with a spoon or knife, but be careful not to rub it into the fabric.
- If the garment is washable, remove the garment as soon as possible and run cold water through the stain from the backside to force the stain out of the clothing.
Note: Avoid dabbing at it as this can spread the stain.
Lipstick
- To remove most lipstick stains from napkins, put the napkin stain down on top of a couple layers of paper towel or absorbent towel.
- Dampen another towel with rubbing alcohol (70 or 90 percent), then dab, dab, dab the stained area.
- Look underneath and you should see lipstick on the paper towels. Keep at it until all of the stain is gone. Some long-lasting lipsticks may need more work to get off.
NOTE: You also can spritz a prewash spray onto both sides of the fabric, let set for a few minutes to let the spray work, then scrub with a small brush. Rinse, wash as usual and air dry. If a little color is left, repeat the steps and it should take care of the problem.
See more holiday cleaning hints from Heloise.
Maple Syrup
Maple syrup or corn syrup stains should be removed as soon as possible.
- Begin by using a blunt kitchen knife to remove any excess syrup still on the fabric.
- For washable fabrics, flush with cool to warm water from the back of the stain.
- Pretreat with a stain remover or liquid laundry detergent and let sit for several minutes. Rinse well.
- Wash as recommended according to the garment label.
- Don’t put in the dryer until the stain is gone!
Mayonnaise
- Pretreat with a prewash stain remover.
- Launder, using the hottest water that’s safe for the fabric.
DIY Homemade Stain Remover
Remove tough stains with this easy homemade stain remover using just 3 ingredients from your cabinets. Costs 89% LESS than store-bought stain remover and it works great! Also, try my eco-friendly homemade laundry detergent to save even more money!
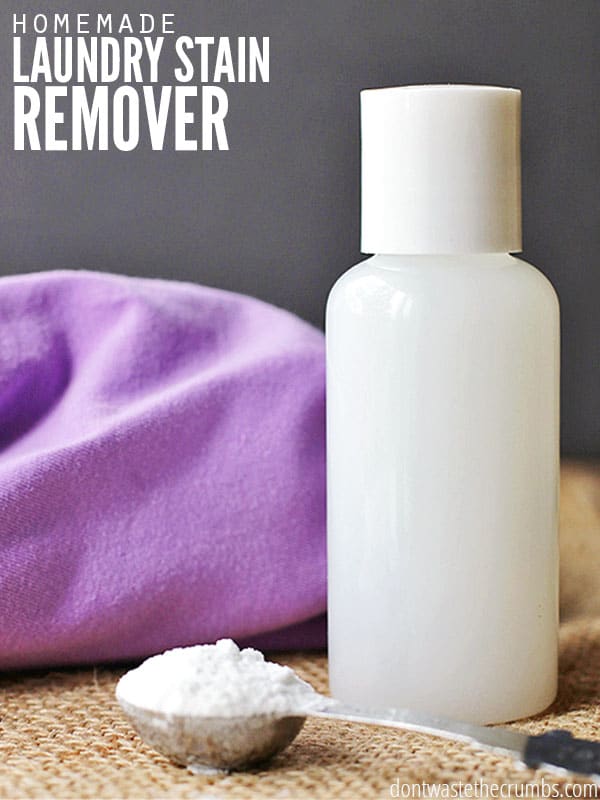
Stains are a fact of life. My clothes, the kids clothes, hubby’s clothes. Mystery stains frequently show up on anything and everything.
I’ve slowly changed my laundry room supplies to natural products like laundry salts, homemade bleach alternative, and Thieves laundry soap. But one of the first DIY recipes I ever tried was homemade stain remover.
This stain remover works on practically every stain imaginable (even tough ones) like grass, grease stains, food, even blood stains! Plus, it contains only 3 ingredients that I keep on hand.
I am ALL ABOUT some cheap easy cleaning.
My “Old” Laundry Routine (That Didn’t Work)
I don’t know about you guys, but catching a stain BEFORE the clothes are washed is practically unheard of. It’s not until they’ve been washed, dried, and hung up on a hanger that I see the ugly stain. Gah!
Throwing the dirty shirt back into the hamper doesn’t work either. I inevitably forget and bury the clothes. Which means the same clothes will get washed repeatedly before the stain is ever dealt with.
Seeing as this “system” is a bust, I came up with a new one.
My “New” Laundry Routine (That Works Every Time)
- Separate stained clothes . When I notice a stain, I still hang up the clothes. But instead of putting them away in my closet, I hang them on my bedroom door. Then, when it’s time to wash a load of laundry, I take the stained clothes with me too.
- Treat the stains . While a regular load is washing, I go to work on removing the stains. I apply the stain remover and let it rest until it’s time to switch loads and start another. It’s just enough “sitting” time for the stain remover to do its job.
- Wash the treated clothes in hot water . I used to use homemade laundry detergent, but I switched to Thieves Laundry Soap by Young Living. You can read why I made the switch here!
- Dry . Depending on the clothing, I either line dry or dry them in my dryer. I’m a huge advocate for line drying, though, because of its many health benefits ( read more here )! It is gentler on your clothes and saves on electricity. Win-win!
Note: I’m known to forget about treated clothes and let them sit overnight. I haven’t had any problems with it or cause any issues to leave for over an hour.
Why Use DIY Stain Remover
Shortly after I started my real food journey, I started paying attention to the products I use in my home. MANY of the typical household cleaning and beauty products we used were full of chemicals I couldn’t pronounce. How was I to know which were the worst?
The more I researched, the more I wanted to toss everything at once and start over. But the frugal side of me knew that wasn’t a possibility. So I started with the most chemical filled products.
Using the Think Dirty App, I found which products in my home were the worst offenders. Laundry products often rate really bad! For example, Shout stain remover rates at an 8! (Ten being the worst for toxins.)
Bottle by bottle, I switched over my products to natural options. I love using DIY recipes because:
- It’s usually quite a bit cheaper
- I can buy my ingredients from trusted sources
- The ingredients can be mixed and matched to make multiple recipes (like these six ingredients to make TEN beauty products!)
- I can customize to make it fit my needs
If you’re overwhelmed by cleaning up your household products, use this FREE 5 Days to DIY Natural Living Challenge. It gives you practical, easy to complete baby steps towards a cleaner home!
DIY Homemade Stain Remover

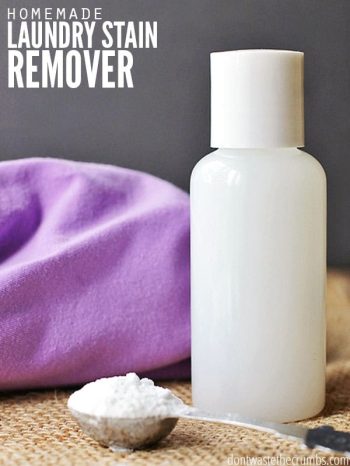
You only need three simple ingredients to make DIY Stain Remover.
- Baking Soda. Baking soda can be found cheap at any grocery store. Or you can buy it in bulk on Amazon .
- Thieves Dish Soap. I buy my dish soap from Young Living. There are a lot of essential oil companies out there, but after testing several brands, I committed to Young Living oils and their natural products. You can read more about their oils and my decision HERE. If you don’t have Thieves Dish Soap, use the Think Dirty App to see how your soap ranks. You want to aim for a 3 or better! (Tip: Dawn dish soap is NOT your best option!)
- Hydrogen Peroxide. This ingredient can also be found cheap at a grocery store or Walmart. This is what I buy from Amazon .
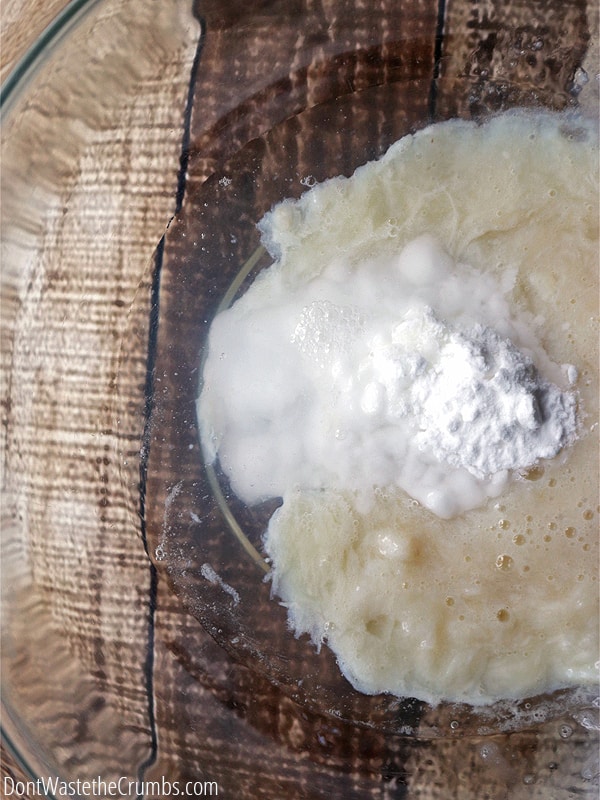
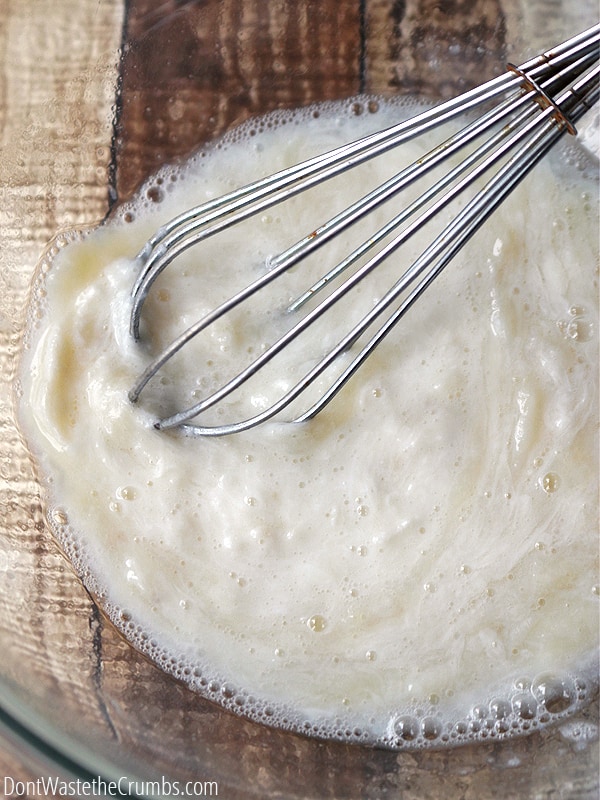
Once you have all your ingredients, simply combine all ingredients in a small jar and stir gently to combine well.
Your mixture should be thick, which is why I recommend a glass jar and not a spray bottle. If you prefer a smaller container, one with a flip-top and a spout would be best!
Store in a dark container or place . Peroxide can lose its effectiveness when stored in the light. Using a dark container or storing in a dark cabinet will prevent the peroxide to go bad.
How to Use Homemade Stain Remover
- Apply a small amount directly to the stain.
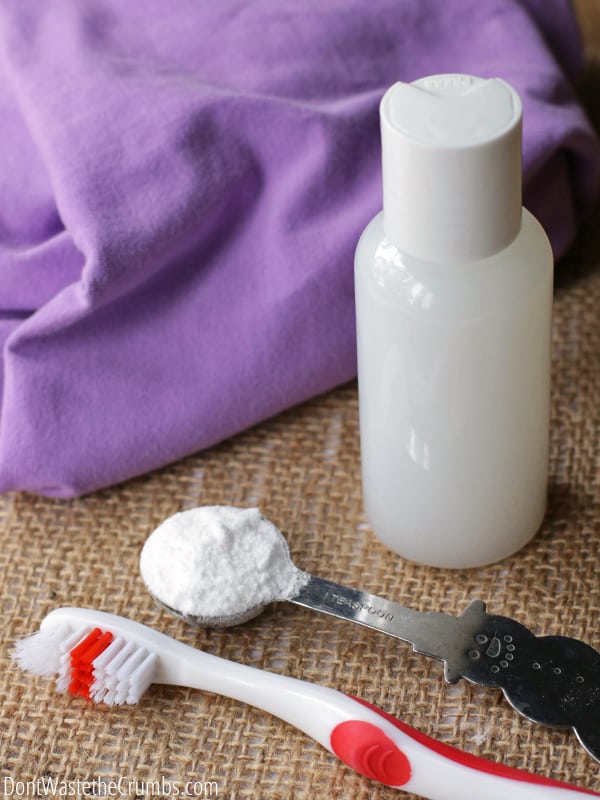
- Rub gently with your finger, a piece of fabric or an old toothbrush.
- Allow the stain remover to sit for at least 15 minutes, or up to an hour. Wash normally.
Tips for Using Homemade Stain Remover
- Do not shake the stain remover. Some readers have experienced “explosions” when shaking this stain remover. This has not happened to me, but I assume it is because of hydrogen peroxide bubbling up. I suggest stirring and swirling gently to mix.
- Alternatively, don’t pre-mix the stain remover. One reader suggests putting the baking soda on the stain directly then adding the soap/peroxide mixture on top. Let it foam, then rub with a toothbrush.
- Use caution on dark colored clothing.Baking soda and hydrogen peroxide are natural whitening agents. If you’re using on dark clothing, you might want to test a small area first.
- Double the recipe for larger families. This recipe is easy to double up if you get a lot of stains. I have a neighbor with five boys and I’m SURE they need a double batch!
- Use with white vinegar on armpit stains . The build up from your deodorant can easily make a shirt look stained. Using white vinegar will help loosen up the build-up and freshen your underarms. (Or you can switch to a natural deodorant like this one OR detox your armpits to avoid the need for deodorant!)
- Use with homemade bleach alternative. If you have some extra stubborn stains, try using this recipe and also wash with homemade bleach alternative.
Cost Breakdown
- baking soda – $.01
- dish soap – $0.11
- hydrogen peroxide – $.05
The total cost of homemade laundry stain remover is 17¢. Compare to the cost of Shout at $1.55 for the same amount. Making it yourself saves 89%!
Are You Looking For A Cleaner Laundry Soap?
Making your own laundry detergent is a great option for non-toxic laundry. But I get that DIY isn’t everyone’s cup of tea.
There are a few brands of laundry detergent out there that have non-toxic ingredients. One that I like is Truly Free. They have a variety of household cleaners, laundry soap, kitchen cleansers, and related products. All are made in America, free from toxins, and sold in reusable packaging!
You can use the coupon code CRUMBS30 to get 30% off anything in their shop. This is a HUGE discount! No subscription is required. Simply order through this link.
More Homemade Cleaning Supplies
There are even more ways to save by making your own supplies. Here are a few other DIY laundry supplies you can make, as well as tutorials for great smelling laundry!
Fight Inflation Workshop
Sign up for my FREE Fight Inflation Workshop and learn simple strategies to save money, even with rising food costs!
DIY Homemade Stain Remover
4.7 from 9 reviews
Remove tough stains with this easy homemade stain remover. Uses just 3 ingredients from your cabinets, costs WAY less than store-bought stain remover, and it works great!
Ingredients
- 1 Tbsp baking soda
- 4 Tbsp dish soap
- 8 Tbsp hydrogen peroxide
Instructions
- Mix ingredients in a small glass jar or plastic bottle with a flip top.
- Swirl gently to combine.
Notes
- Do not shake the stain remover. Some readers have experienced “explosions” when shaking this stain remover. This has not happened to me, but I assume it is because of hydrogen peroxide bubbling up. I suggest stirring and swirling gently to mix.
- Alternatively, don’t pre-mix the stain remover. One reader suggests putting the baking soda on the stain directly and then adding the soap/peroxide mixture on top. Let it foam, then rub it with a toothbrush.
- Use caution on dark colored garments. Baking soda and hydrogen peroxide are natural whitening agents. If you’re using dark clothing, you might want to test a small area first.
- Double the recipe for larger families. This recipe is easy to double up if you get a lot of stains. I have a neighbor with five boys and I’m SURE they need a double batch!
- Use white vinegar on armpit stains. The build up from your deodorant can easily make a shirt look stained. Using white vinegar will help loosen up the build-up and freshen your underarms. (Or you can switch to a natural deodorant like this one OR detox your armpits to avoid the need for deodorant!)
- Use with chlorine bleach alternative. If you have some extra stubborn stains, try using this recipe and also wash with a Homemade Bleach Alternative.
Keywords: Stain Remover
Did you make this recipe?
Leave a comment below and give it a 5-star rating!

Share this post:
You May Also Enjoy These

Food prices are going up, but your grocery budget doesn’t have to! Join our free Fight Inflation Workshop to learn 3 simple yet proven strategies to save money on food week after week, even when prices keep going up!
Fight Inflation Workshop
Reader Interactions
I gave this diy stain remover 4 stars only because I had to use 2 1/2 travel size bottles of this stuff in order to complete remove a stain ★ ★ ★ ★
Stain remover recipe is the best thing since sliced bread. I tried it today to remove washable pencil marks of some fabric crafts I made. It’s the greatest and cheap too. Thanks so much for developing this recipe. ★ ★ ★ ★ ★
I used Dawn and it really gets sudsy. I just mixed it up in a bottle and was wondering if this causes too many suds in a front loading washing machine. I can’t rate the effectiveness yet. I’ll be washing it soon. I hand rubbed parts on a child’s jacket, perhaps I’ll rinse some out before putting it in the washing machine. ★ ★ ★
I make one similar to this and just put less laundry soap in when I am doing a load to cut down on the suds.
Could you please state what concentration of hydrogen peroxide solution you use?
Is it 3% ?
Thank you
Hi Bev! Yes, 3% hydrogen peroxide is recommended for household use. Hope this helps. 🙂
Amanda, You can use any dish soap that you have on hand for this stain remover recipe. I have adjusted the post to reflect this. So sorry for any confusion. 🙂
I have been using your formula for about 3 weeks now. My husband works outside and gets very dirty, with ground in dirt and grease. Clothes turn out completely stain free. Thank you for sharing. ★ ★ ★ ★ ★
Absolutely love this stain remover. I’ll bet I’m on my 15th bottle already. There hasn’t been any stain able to kick my butt. Thank you for sharing. ★ ★ ★ ★ ★
Made and tried this diy stain remover today. It worked great and was so easy and cheap to make!! I used it on grease and armpit stains and it’s the only thing that worked and is the only thing I will be using. Thank you for sharing
I usedDawn dish detergent because I had it on hand. I put it in a spray bottle, with a tiny bit of water to keep it from foaming too much. I’ve used it on pet stains on my carpet…even forgot to rinse it a few times….no problems….a plus also is that baking soda removes the smell of pet odor. ★ ★ ★ ★ ★
I use dawn soap and works great . Use on shower cleaning, all clothes stains , even pet stains on tile floor ★ ★ ★ ★ ★
Thank you for the knowledge! Can i also use mixture be used to remove rust from a cloth? Thanks, Susan
Try saturating the stain with equal parts lemon juice and baking soda. Lay the cloth out in the sun…..the rust will turn black,purple, then disappear. then you can wash your cloth as usual.,
This has to be the most thourough, well done series of DIY projects I’ve ever read (& will use). To the author of these: My greatest Respect. Well done in all areas. I hope you are having a great life! ★ ★ ★ ★ ★
Hello! What bottle do you use to prevent the hydrogen peroxide from breaking down?
Hi Rachel, you can use this tinted glass: https://amzn.to/3o1qOir or store this one in a dark place: http://amzn.to/1Ly3X8y.
I don’t understand why no one will answer my questions. Are you sure the proportions are correct? I don’t get a solid. I get a liquid layer with some white stuff on top if I follow the proportions above: 1 T. baking soda, 4 T. liquid soap and 8 T. peroxide. What am I missing.
I don’t understand how this is a thick paste. Your recipe says 4 T. of dish soap and 8 T. of hydrogen peroxide to 1 T. of the solid AKA baking soda. I just mixed it up and it seems pretty liquid to me. Does it thicken as it sits? do you have to let it thicken before you use it?
You are right. Just made it and it is very soupy. Not a paste. The ratio is off. Not enough of the baking soda solid to create a paste. Other recipes have the ratio of ingredients as 1 part baking soda, 1 part dish soap, and 2 parts Hydrogen Peroxide. Going to try that ratio next. HTH!
Hi Kim,
The brand of dish soup can vary the texture. You can adjust the ingredients to get a more paste like texture if it seems too soupy. 🙂
